Where is Dry Sanitation appropriate or necessary?
Dry Sanitation is appropriate wherever we are dealing with processing facilities that are in low moisture environments. Examples are:
- Grain Mills
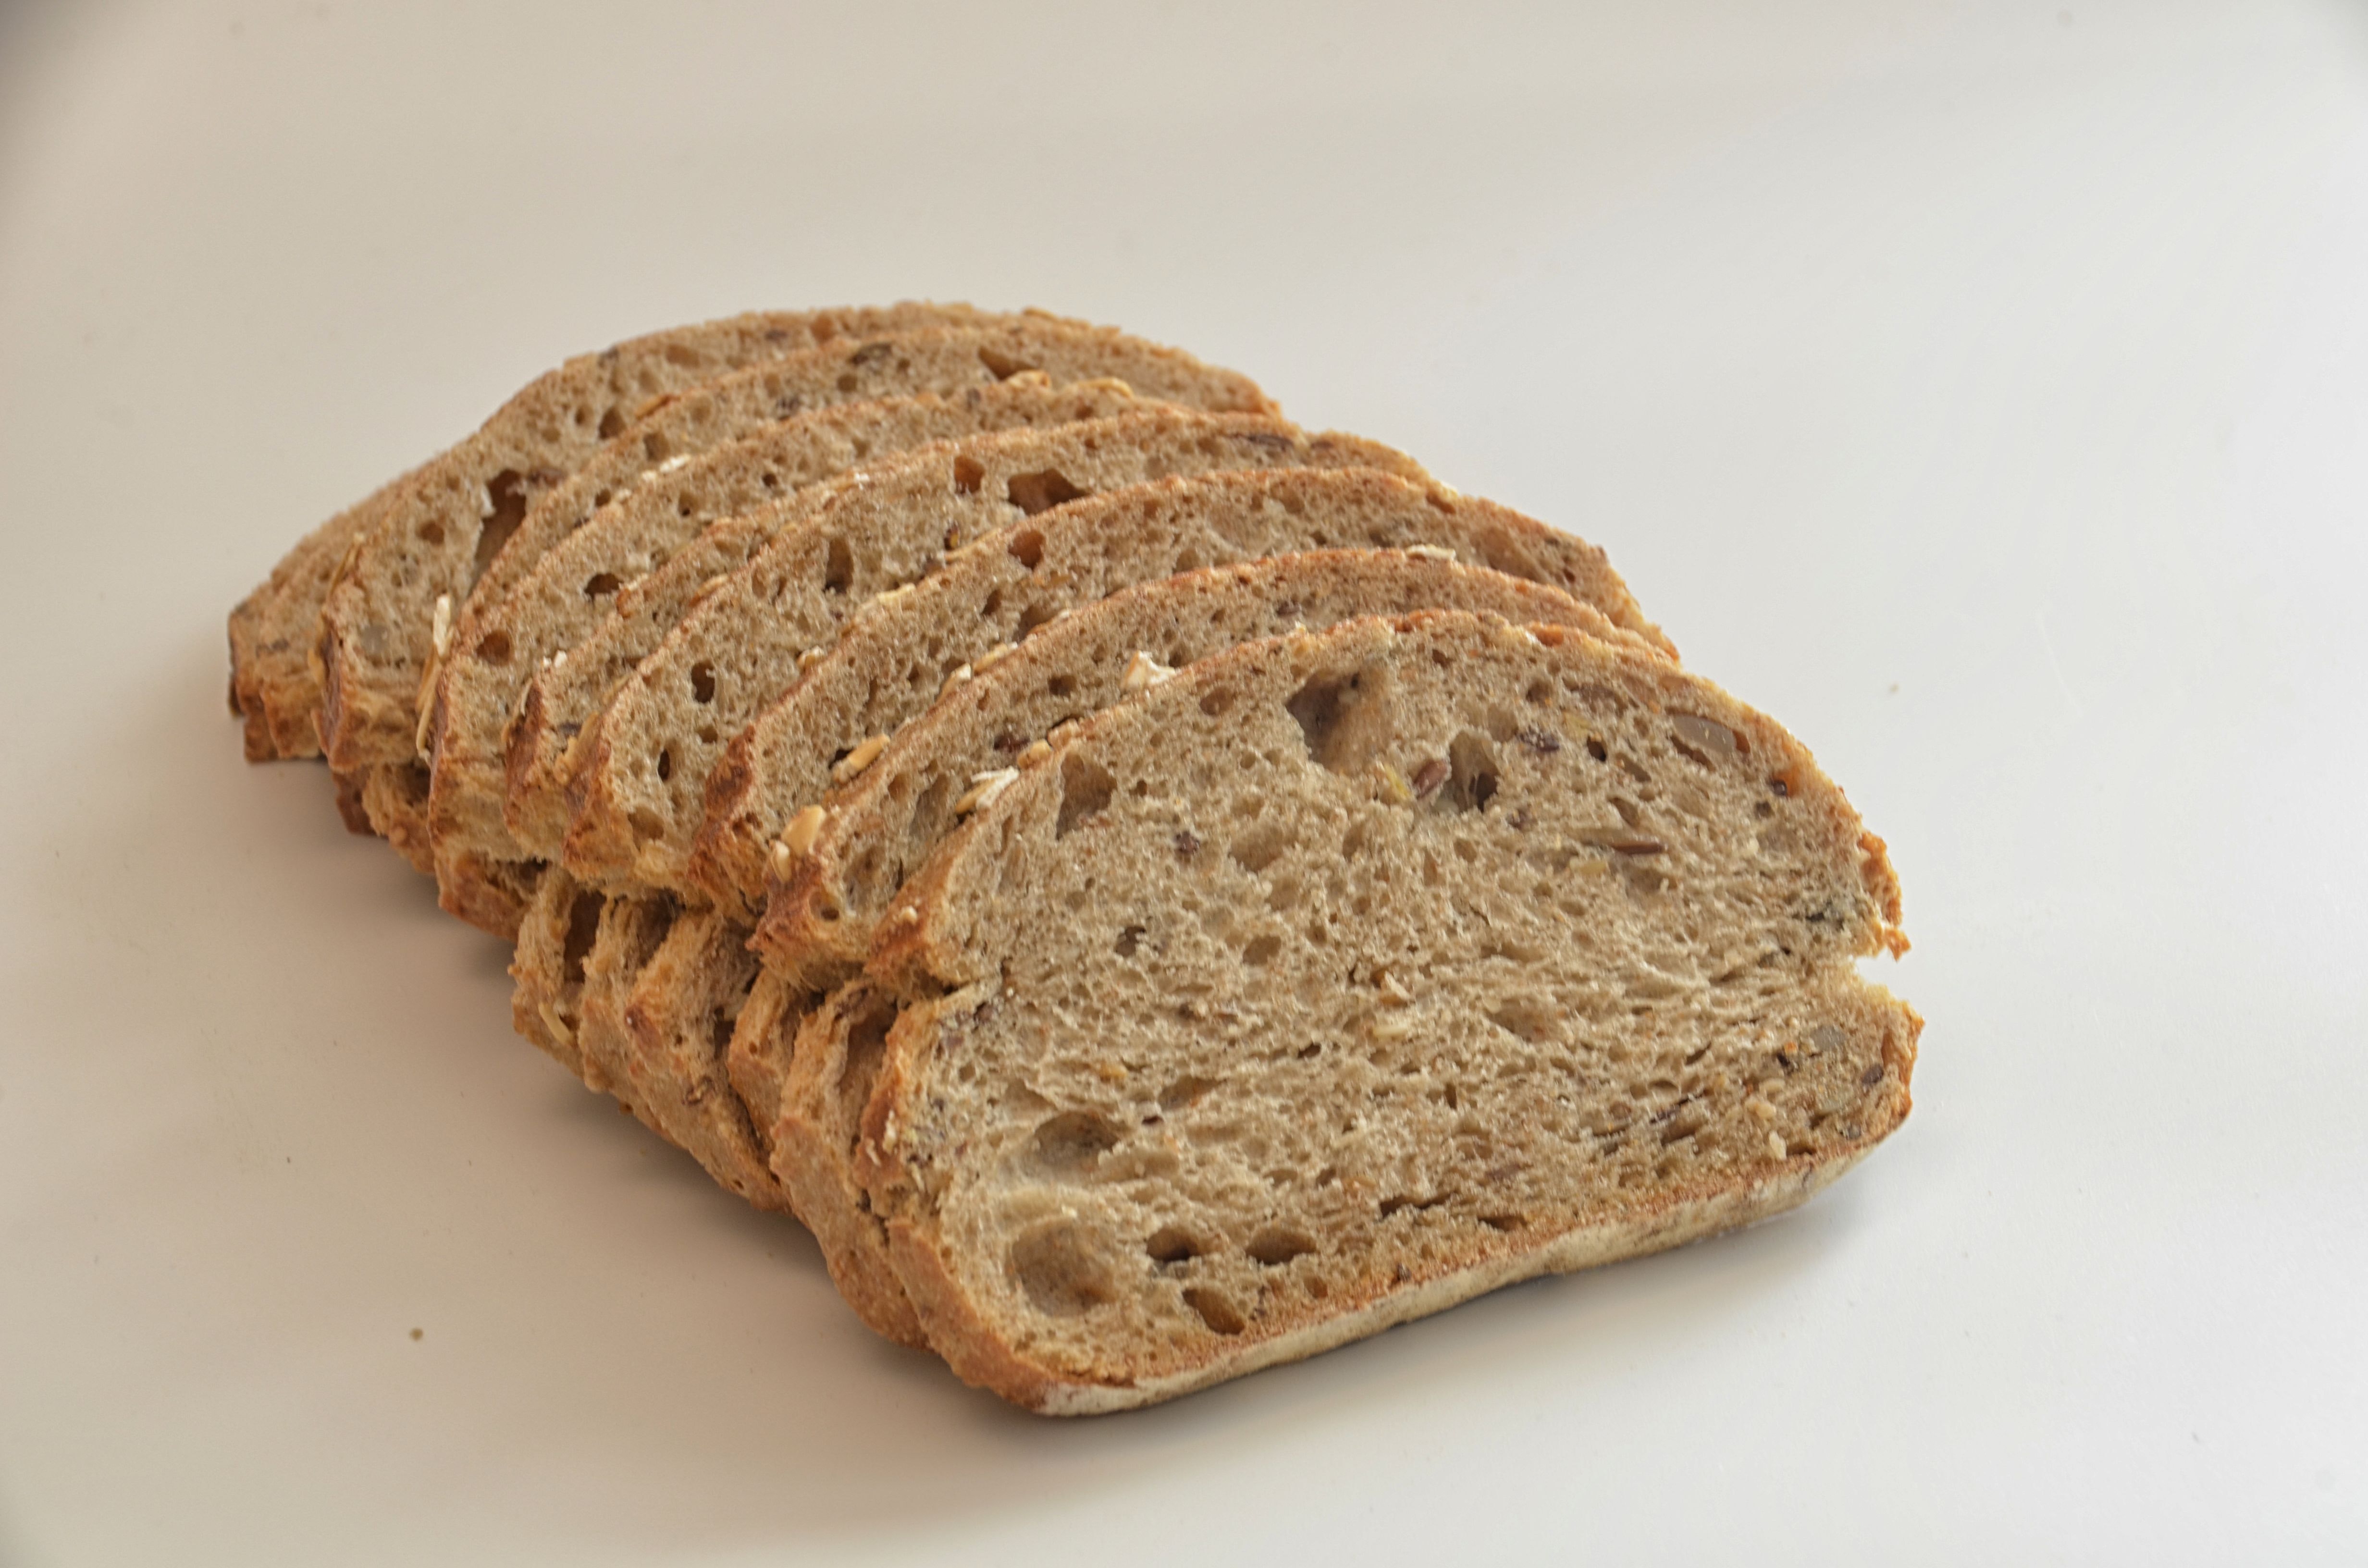
- Bakeries
- Confectionery products
- Extruded and Blended Dry Snack and Pet Foods
- Packaging Lines
- Ambient Warehousing
Why is it appropriate in these areas?
While both bacterial and fungal species can survive and persist in dry environments, they cannot multiply or reproduce. All microbial, plant and animal species require a certain level of moisture, aka water activity, to survive and grow. Water activity is the measure of available water; as point of reference, water activity of water is 1.00, fresh foods is 0.9 to 0.99, chocolate is 0.6-0.7, etc.
Dry Sanitation controls the ability of native microbial flora to grow, but dry cleaning makes allergen removal problematic and doesn’t remove all traces of allergen protein residues.
Dry Sanitation improves shelf life by reducing the ability of spoilage microbes to grow thereby also reducing product contamination. For the aforementioned areas, Dry Sanitation can reduce clean-up time and consequently, down-time.
Also, by properly executing a Dry Sanitation program, you’re reducing liquid waste to drain, resulting in less chance of blocked drains, drain lines, and traps. Dry Sanitation is also easier on wastewater treatment systems. And, of course it decreases water usage.
The Seven Steps of Dry Sanitation:
1. Prep the area and equipment
2. Disassemble the equipment (as much as the hygienic design permits!)
3. Scrape and vacuum all dry soil debris in equipment and area
4. Detail clean all sub-components
5. Self-inspect and pre-op prep
6. Final inspection and sanitation verification
7. Sanitize
Prep work is CRITICAL and dictates the performance level of the SSOP (Sanitation Standard Operating Procedure). All Dry Sanitation tools and required chemicals must be staged. Systems are purged at this time.
Disassembly embraces the concept of taking all detachable problematic components to a washroom where wet cleaning is away from the dry processing environments. All these components, once wet cleaned and sanitized, must be thoroughly dried before they are re-assembled in any dry processing zone.
Scrape and Vacuum with dry cleaning. It’s important to designate specific tools designed to safely scrape (not damage) all surfaces and collect all soil residue with HEPA (high-efficiency particulate air) vacuums.
Dry cleaning tools include brushes, scrapers, non-abrasive scrub pads, pigging devices (for piping or ducts) as well as the HEPA vacuums. The HEPA vacuums must be properly sized and preferably segregated to key product zones. Also, the attachments should be color-coded for each segregated zone (e.g. white for zone 1, yellow for zone 2, black for zone 3 and 4).
Dry cleaning procedures are best when starting from the top and working toward the bottom. Brush, scrape and sweep all dried, caked-on residues. Then use a brush or HEPA vacuum with designated zoned attachments removing all residues.
Detail cleaning of all units and components that are not easily removed and cleaned in a designated wet cleaning area, such as a washroom. In this case, the proper method is to hand wipe equipment with a mild detergent using a scrub pad or clean cotton cloth. The mild detergent must be dilute enough to be removed with a hand wipe rinse step using clean cloths saturated with water.
For a number of solid or latticed rubber, plastic, and stainless conveyor belts, these can be detail cleaned using a device called a Brite Belt – a unit that isolates wet cleaning, rinsing and sanitizing using a canister/cassette filled with the diluted cleaner, rinse water or sanitizer. The unit uses either a non-abrasive 3M scrub pad (for flat, solid surfaces) or brushes (for lattice conveyors).
Both utilize bungee cords to affix the canister to the belt with sufficient tension. The conveyor belt is run at a slow speed while one can clean, rinse, and then sanitize the belt using minimal amounts of water. Brite Belts are highly useful where conveyors are located in Zone 1 (direct food contact) and/or the conveyors are long. See link to You Tube video https://www.youtube.com/watch?v=fB7U4lxaZzs
Self-inspect and pre-op: first phase visual inspection is by trained sanitation staff and Pre-op done by designated trained QA staff.
Final inspection and sanitation verification: Utilizes rapid, real-time methods for soil, allergen detection. Some examples include:
- Hygiena, 3M or Neogen ATP tests for total organic soil residue
- Hygiena, 3M or Neogen protein and sugar soil detection residues. Note the protein tests are also excellent allergen verification tools.
Sanitization step in dry environments utilizes an alcohol-based QAC sanitizer like Alpet D2 (from Best Sanitizers) which is an approved EPA registered sanitizer or Alpet QAC free which is the only organic approved alcohol (for organic certified products).
These alcohol sanitizers can be applied via spray or wipe. For conveyors, the Brite Belt option can be employed especially for long conveyor runs to ensure proper coverage of all zone 1 conveyor areas.


